If you thought putting up shelves was a job best left to the professionals, think again. Floating shelves can be fitted easily on a Saturday morning or afternoon, giving you plenty of stylish storage space. Follow our step-by-step guide on how to put up a floating shelf to get handy extra storage in no time.
Get the job done right with more of our DIY and decorating advice.
How to put up a floating shelf

What you will need to put up floating shelves
- Retractable tape measure
- Electronic wire and pipe detector
- Spirit level
- Drill
- Screws or fittings: 50mm screws and plastic Rawlplugs if fixing to concrete or brick, 40mm screws if fixing to wooden joists, or 65mm metal plasterboard anchors is fixing to plasterboard.
- Hammer (to push in Rawlplugs)
- Screwdriver
Watch our step-by-step video guide
Step 1 – Plan and position
First, decide how many shelves you would like, and how high you want them. If you want to put storage baskets underneath, the lowest shelf should be no less than 90cm from the floor, and the space between each shelf should be at least 30cm, which will fit most books.
Step 2 – Safety check the wall
Using an electronic detector, check that the area of wall where you plan to hang the shelves is free from hidden pipes or cables.
Step 3 – Mark the wall
Place your first bracket against the wall, using a spirit level to make sure it's level. Mark the fixing-hole positions with a pencil.
Step 4 – Drill the holes
Using the pencil marks, drill holes into the wall. Our floating shelves required five screws, which weren't included with the shelf - check when you buy. Always choose screws or fittings that are suitable for the material of your wall (see previous page). Screw the bracket into place.

Step 5 – Secure the brackets
Slide the shelf onto the bracket to check that it's level (use the spirit level to make sure). Once you're happy with the position of this shelf and the way it looks, slide it back off the bracket so that you can position the rest of the brackets.
Step 6 – Slide the shelf in place
Once all the brackets are in place, slide the shelves on and fix into place with the small screws provided with the shelf, using the pre-drilled holes on the underside of each shelf.
-
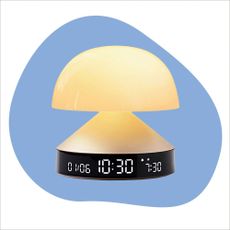 I trained myself to like mornings with a sunrise alarm clock - here are 6 of the best to make waking up easier
The best sunrise alarm clocks are designed to work with your circadian rhythm to make waking up and going to sleep easier
-
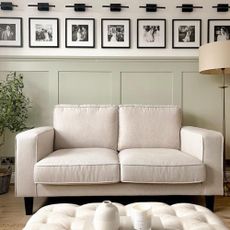 'It was a complete mess and full of junk!' How a dumping ground for clutter became a stylish second living room
This transformative makeover has turned an unloved space into an elegant room scheme that's both calm and chic
-
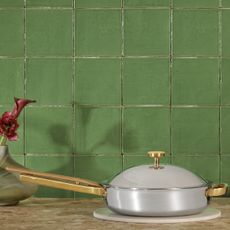 There's a new Always Pan on the block - and the brand claims that this time the non stick is better than ever
With earth-friendly materials, the Titanium Always Pan Pro has arrived to switch up the Our Place product range


